Set up a Windows 10 recovery drive to get a bootable fallback when the PC won’t start or troubleshooting tools won’t open. A recovery USB handles worst case startup failures, while a restore point is faster for rolling back a bad driver or update when Windows still loads.
- What should be checked before creating recovery media?
- Which USB is suitable, and why will it be erased?
- How do you create a recovery drive that actually boots?
- When is a restore point a better choice than the USB drive?
- How do you create a restore point and confirm it exists?
- What if Windows RE won’t open, or recovery asks for a key?
- What mistakes make recovery plans fail at the worst moment?
- What’s the minimum setup that still covers most failures?
What should be checked before creating recovery media?
Creating a Windows 10 recovery drive goes smoother when the USB, permissions, and disk health are checked first. The steps here focus on built-in Windows tools, not full-disk imaging, cloning, or third-party backup suites.
- Use an empty USB drive you can safely wipe.
- Make sure you can run system tools with admin rights.
- If BitLocker is enabled, locate and save the recovery key in advance.
- If the system drive shows frequent errors or freezes, prioritize data backup before deeper changes.
Micro-scenario: a home PC started rebooting after a cumulative update, and the fastest path to tools was a bootable USB into recovery.
Which USB is suitable, and why will it be erased?
A USB drive for a recovery drive must be empty because the creation process formats the device and removes existing data. Microsoft Support explicitly warns to use an empty USB drive for Recovery Drive since the tool erases what’s already stored.
Choose a reliable USB stick that stays connected under load. If the drive disconnects during copying, the media can be incomplete and fail right when it’s needed.
How do you create a recovery drive that actually boots?
A Windows 10 recovery drive can be created from Start search or by running recoverydrive.exe, and the key is finishing the wizard without interruptions. Microsoft Support also notes that the wizard can copy system files to the recovery drive, which helps when you need a reinstall-style recovery option later.
- Open Recovery Drive from Start search or run
recoverydrive.exe. The wizard should appear; if it does not, close it and run it as administrator. - Plug the USB directly into the PC and select it in the wizard. The drive should show up immediately; if it does not, switch ports and avoid USB hubs.
- Keep the option to back up system files enabled if you want broader recovery options. The copy size will increase; if space is insufficient, use a larger USB drive.
- Start creation and wait for completion. A success message should appear; if the process fails, retry with a different USB drive.
When USB devices show up with odd partitions, a refresher on safe disk management basics can prevent accidental changes to the wrong volume.
A quick verification table helps confirm the basics before moving on.
| Check | Action | Expected result | Next step if it fails |
| Wizard opens | Run recoverydrive.exe | Wizard launches | Run as administrator |
| USB detected | Select the USB drive | USB appears in the list | Change port, remove hub |
| Creation completes | Wait for the copy | Success message shows | Try a different USB drive |
| Boot test works | Choose USB in boot menu | Recovery environment loads | Review UEFI/BIOS boot options |
After the table, do one practical test: reboot, open the boot menu, and confirm the recovery environment loads.
When is a restore point a better choice than the USB drive?
A restore point is best when Windows still starts but became unstable after a driver, update, or app install. Microsoft Support explains that System Restore rolls system files, registry settings, and installed programs back to the state captured by the restore point, which makes it useful for undoing system changes but not a replacement for full file backups.
Micro-scenario: after a printer driver install, startup slowed dramatically, and a restore point restored the prior working configuration.
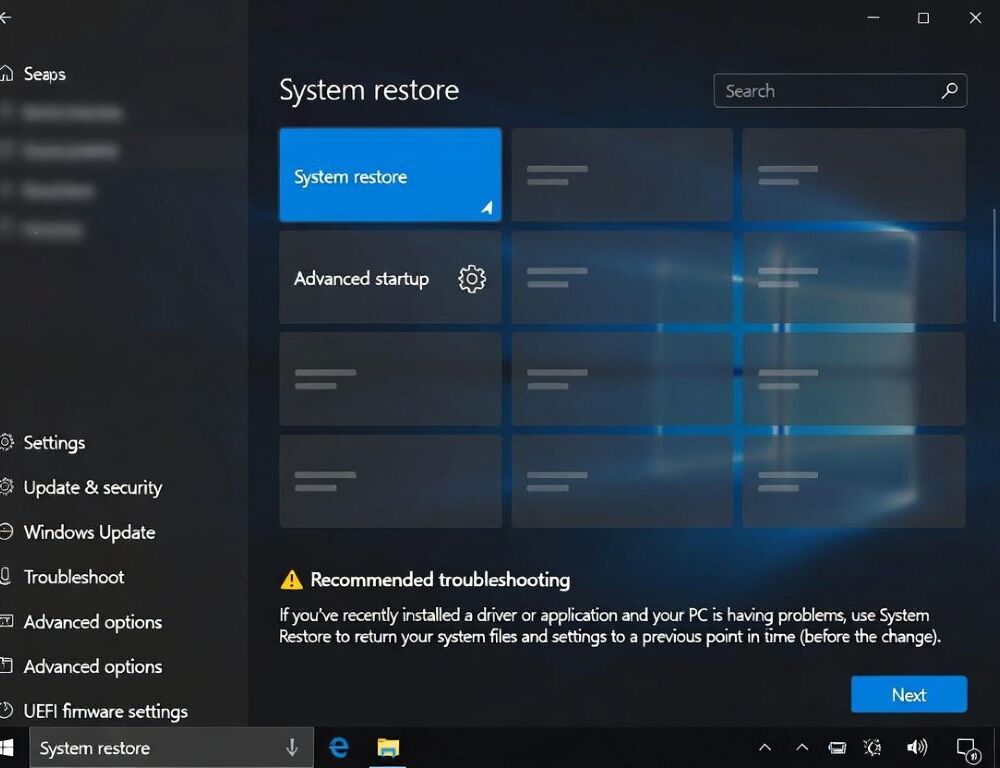
How do you create a restore point and confirm it exists?
A restore point in Windows 10 is created through System Protection, where you select Create and add a description, as outlined in Microsoft Support’s System Protection steps. The most common blocker is System Protection being turned off for the system drive.
- Search for “Create a restore point” and open System Protection. The System Protection tab should appear; if it does not, use Windows search in Settings as a fallback.
- Select the system drive and enable protection if it is off. The storage slider should become available; if it stays disabled, verify admin permissions.
- Click Create, name the restore point, and confirm. A success notice should appear; if it fails, free disk space or lower the allocated protection space.
- Open System Restore with
rstrui.exeand verify the restore point is listed. The restore point should show by date and name; if none appear, recheck that protection is enabled for the drive.
After a restore, personalization may need a quick reset, and keeping official Windows 10 themes and quick fixes handy saves time.
What if Windows RE won’t open, or recovery asks for a key?
Recovery issues often show up as missing Advanced options or tools that fail to launch from the recovery environment. Microsoft Support notes that encrypted devices may require a BitLocker recovery key to complete certain recovery actions in Windows RE, so having that key ready avoids a hard stop.
For a technical status check, reagentc /info is commonly used, and Microsoft Learn describes it as a way to display the current Windows RE status. If Windows RE is disabled or misconfigured, a safer fallback is to back up data first and escalate, rather than forcing changes that can make recovery harder.
Micro-scenario: a used laptop arrived with BitLocker enabled and no recovery key, so the correct first step was retrieving the key, not attempting recovery.
What mistakes make recovery plans fail at the worst moment?
Recovery setups fail most often when they are never tested. Creating a USB and skipping a boot test is a frequent reason people discover problems only after a non-booting event.
Another avoidable mistake is using the recovery USB as a regular file-transfer drive. Keep it separate, and avoid storing random files on it.
What’s the minimum setup that still covers most failures?
The simplest reliable setup is one tested recovery USB plus one fresh restore point before risky changes. That combination covers both “Windows won’t start” and “Windows starts but acts broken” without turning recovery into a complex project.
Sources: